Cricut Easy Press 2 Setup: Quick and Easy Instructions
In my previous blog, one of my readers left a comment asking me to teach about the Cricut EasyPress 2 setup. It will be a little tricky for me because it’s been a while since I have used this machine. With this Cricut product, you can create amazing iron-on projects such as tote bags, pillows, aprons, and so much more. In addition, this Cricut machine comes with the speed of a heat press and the convenience of a household iron.
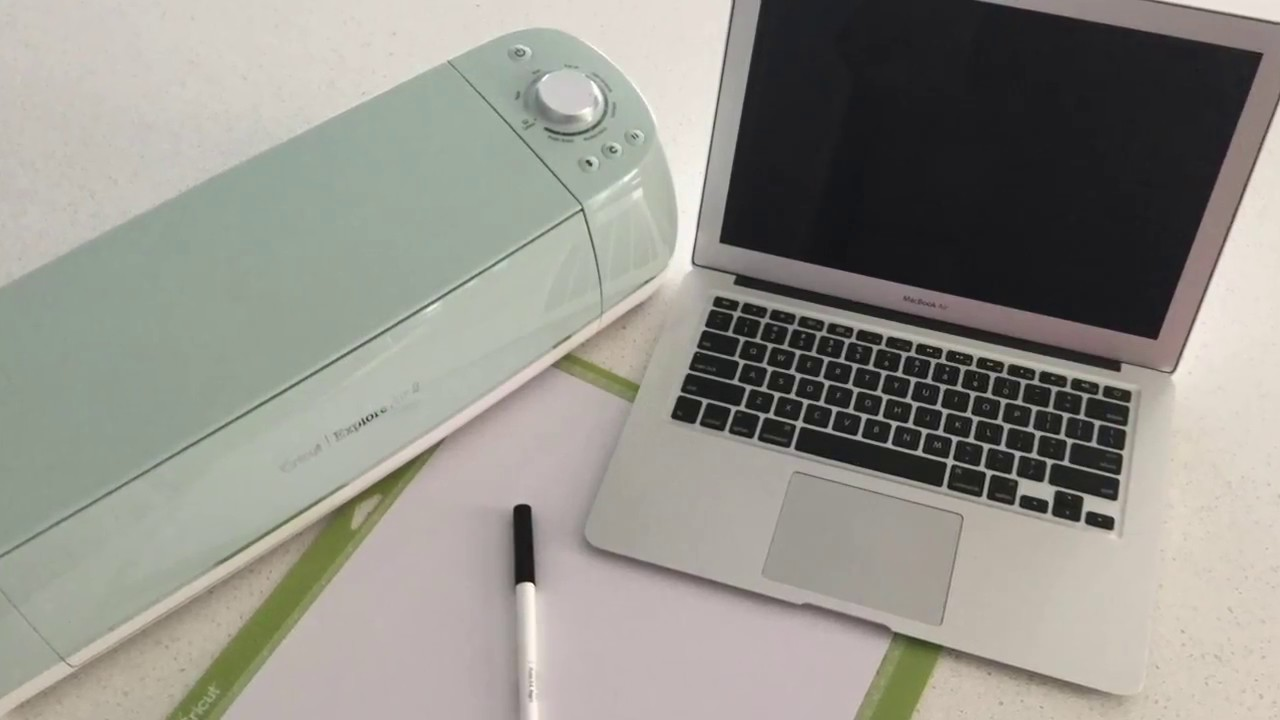
Before using this Cricut product to make DIY projects, you must set it up on a computer. Plus, you will register this Cricut Easy Press model through Cricut Design Space. If you don’t want to miss the golden chance to grab the content about the machine setup and registration procedure, then read this blog.
Cricut Easy Press 2 Setup on Your Computer
If you want to learn the Cricut machine setup process on PCs, this blog section benefits you. It will share all the details that will make it easy to set up the devices. To execute the process in a proper format, take a look at the steps given below:
- In the opening step of the process, download and install Cricut Design Space on your computer.

- Next, you must sign in or create your Cricut ID to use the app.

- Then, go back to the Cricut app main page and select the Menu bar on the left-hand side.
- After that, click the New Product Setup button under the Canvas dropbox.
- Following this, tap the Cricut Heat Press and then Cricut EasyPress 2.
- In this step of the Cricut EasyPress 2 setup, plug the power cable into the wall socket.

- Also, ensure the socket is working and not too far from the Heat Press.
- At this point, plug the cord’s small end into the EasyPress 2 USB port and the large end into the computer USB port.

- Now, finish the rest of the process by following the instructions displayed on your system screen.
After successfully setting up both devices, you need to register your Cricut Heat Press by following the instructions below.
How Do I Register My Cricut EasyPress 2 Machine?
In addition to the Cricut EasyPress 2 setup guide, let’s study in depth the method for setting up this product through the Cricut Design app.
- First, switch on your desktop or mobile devices and open Cricut Design Space.
- Second, download the Cricut app and follow the instructions present on your screen.

- Third, choose New Product Setup by opening the app on your device.
- Now, go through the on-screen guidelines to complete the remaining setup process.
- Finally, your Cricut EasyPress 2 will instantly register when the setup is concluded.
You can create different heat-transfer projects after successfully registering this Cricut Heat Press model.
How to Adjust Cricut EasyPress 2 Temperature?
In case there comes the point where you want to change the product heating temperature, then take the help of the info given below:
- Commence the process by powering on this Cricut EasyPress version.
- Now, click the temperature button for a few seconds to turn it on.
- Afterward, adjust the Cricut product temperature using the (+) or (-) button.

- Then, change the temperature from *C to *F by holding the temperature button for a few seconds.
- At this time, set your machine’s time by clicking the clock icon and setting the time using the (+ or -) sign.

- Now, the orange light will display that your Cricut EasyPress 2 is heating up.
- Also, the green light will display that the press has reached the set temperature.
- If you see a red light, it clearly indicates that an error was made while adjusting the temperature.
- Finally, your Cricut EasyPress 2 is all set to be used for crafting numerous personalized projects.
Overall, this Cricut product is one of a kind among its series. Undoubtedly, if you are a beginner, you might face difficulty in the beginning, but once the Cricut EasyPress 2 setup is done, everything will instantly get sorted out.
Frequently Asked Questions
Question: How to Update Cricut EasyPress 2 Firmware?
Answer: To update your Cricut EasyPress 2 firmware, check out the following steps:
- Open the Cricut New Product Setup page.
- On the page, select Cricut Heat Press and then Cricut EasyPress 2.
- Now, sign in to your Cricut account and follow the on-screen instructions.
- Afterward, hit the Update option, and the press will update the firmware.
- Finally, tick the Done option and start crafting various projects.
Question: How to Access Cricut EasyPress 2 Heat Guide?
Answer: To get access to your Cricut EasyPress 2 Heat Guide, read this method:
- The procedure will start by opening the official site of Cricut Design Space.
- Now, start looking for the Heat Guide and then open it.
- Afterward, choose the Heat Transfer material & Base material from the section.
- Also, choose the Cricut cutting mat and then click the Apply button.
- At last, select the temperature & timing depending on the material.
Question: Does Cricut EasyPress 2 Support the Cricut Heat App?
Answer: No, Cricut Easy Press 2 doesn’t support the Cricut Heat app for any reason. This model doesn’t have built-in Bluetooth connectivity, which is why it doesn’t scan the Heat app. On the other hand, you can easily connect the app with Cricut Easy Press 3, which has Bluetooth and various other features.
read more: cricut.com/setup mac
install cricut design space app
Source: cricut easy press 2 setup


Comments
Post a Comment